How to Disassemble a Peloton Bike for Moving: Tips and Tricks for Easy Transport
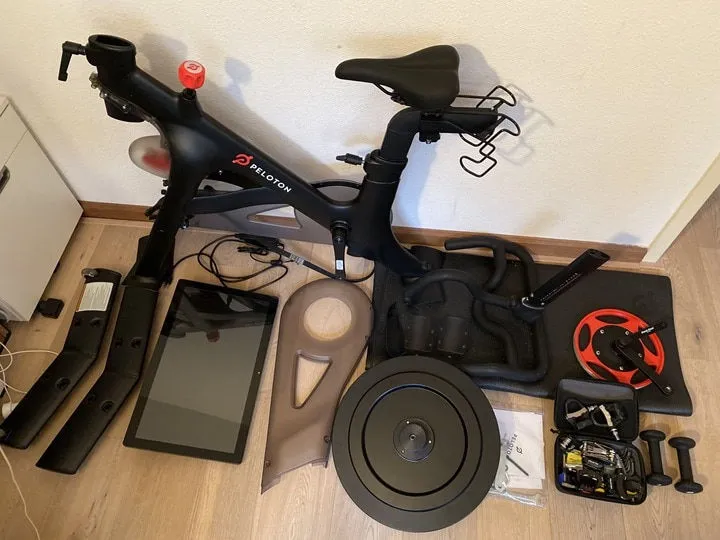
A Peloton Bike or Bike+ needs a moving plan that matches its exact model, accessories, electronics, and route. Before taking anything apart, check current Peloton moving, owner, and setup guidance for that model. The goal is to protect the bike and its display without turning a move into an unsupported repair or teardown.
Start With the Exact Model
Peloton Bike and Bike+ hardware can differ, including their display, mounting, handlebar, and component arrangements. Confirm the exact model before moving and follow the current Peloton instructions that apply to it; do not apply a procedure for one bike as a universal procedure for every Peloton.
Measure the bike and the entire route, including doorways, turns, stairs, and landings. Share the model, route, and any accessory or mounting details with the people planning the move so equipment and help can be matched to the actual job.
Power, Display, and Accessories
Turn off and unplug the external power connection as the applicable Peloton guidance directs. Do not open electrical compartments, modify a power supply, pull a connector by its cable, or attempt to service internal electronics.
Protect the touchscreen as a fragile display. Do not use the screen, its arm, handlebars, or a cable as a lifting, tie-down, or support point, and do not lean the bike on or stack items against the display. Screen removal, cable handling, and mounting hardware are model-specific; use Peloton's current instructions rather than a generic screen-removal procedure.
Secure loose accessories separately and label them so they stay with the correct bike. Use padding that protects components without placing tape directly on the screen or applying concentrated pressure to delicate parts.
Remove Only What Peloton Directs
Do not assume that pedals, the seat, seat post, handlebars, or their adjustment hardware should be removed for every move. If Peloton's current instructions for the identified model call for a component to be removed, follow those instructions and the specified tools exactly.
Pedal threads and removal methods deserve special care. Do not substitute a generic turning direction, tool size, or torque value for the current model-specific Peloton guidance, and do not force a pedal or other part that is stuck.
Keep the main frame, stabilizers, flywheel, resistance system, and internal cabling assembled unless Peloton specifically directs otherwise for the model. A move is not a reason to disassemble the base, service the drive system, or perform a calibration procedure.
Prepare for Carrying and Transport
Use a moving method and equipment suitable for the bike, its model, and the route. Do not move a Peloton alone, and do not rely on one universal crew count, dolly setup, tilt angle, or transport orientation. If the bike cannot be kept stable and controlled on the planned route, arrange experienced help rather than forcing it through a stairway or doorway.
Keep straps and padding away from the touchscreen, display arm, handlebars, flywheel, and other vulnerable components. Prevent shifting during transport, avoid heavy objects stacked against the bike, and use the model's current Peloton guidance before placing it on a side or in a vehicle.
Set Up at the New Location
Place the bike on the stable surface and location specified for the model. Reinstall only components that Peloton's applicable instructions identify, and use those instructions for connections, adjustments, and startup. Do not invent a reassembly order, calibration step, firmware procedure, or electronics repair after a move.
Before riding, inspect the bike for visible damage and follow Peloton's model-specific checks. If a display, cable, frame, pedal, or other component needs service beyond the official instructions, contact Peloton support or a qualified service provider.