How to Move a Pool Table: A Step-by-Step Guide
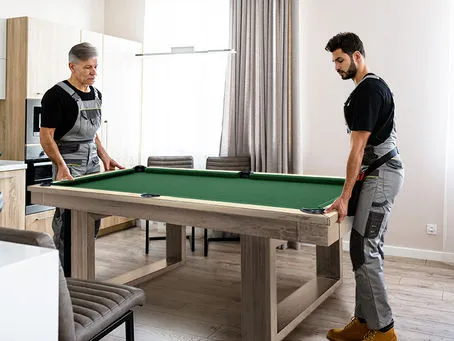
When you need to move a pool table, plan around the specific table rather than treating it like ordinary furniture. Size, manufacturer, cabinet design, slate configuration, rail and pocket attachment, and cloth installation can vary. Use the table’s manual or a qualified billiards installer for the exact procedure.
Before scheduling the move, record the manufacturer and model, table size, slate configuration, and the condition of the cloth. Take photos of the table and its hardware, then measure stairs, doorways, and the destination space. Sharing those details with your mover helps determine whether disassembly and special equipment are needed.
Gathering the Right Tools for Pool Table Moving
Exact tools depend on the model. The manufacturer’s instructions may call for socket wrenches, screwdrivers, a drill or driver, a staple-removal tool, moving blankets, padding, or straps. Gather only the tools called for by the table’s instructions, and keep screws, bolts, and other small hardware labeled with the part they came from.
Disassembling the Pool Table
Do not assume every table follows the same teardown sequence. Rail and pocket attachment can differ by model, so follow the manufacturer’s instructions or have a qualified pool-table installer handle the disassembly when the instructions are unavailable.
Cloth may be stapled or glued, and its removal and reuse depend on the installation method and condition. Do not assume screws hold the cloth in place or pull the cloth forcefully; either can tear or stretch it.
Slate is heavy and brittle. Never lift or carry slate alone. Use enough trained help and suitable equipment for the actual table, route, and component weight; protect the edges, support each piece, and never drag or drop it.
Protecting the Pool Table Parts for Transport
Wrap the legs, rails, pockets, frame pieces, and slate separately with moving blankets or other suitable padding. Secure padding without crushing corners or putting pressure on slate edges, and keep each slate piece supported and identified. Store labeled hardware with its corresponding component so the table can be reassembled in the correct order.
Safely Loading and Transporting the Pool Table
Slate support and transport orientation depend on the manufacturer, model, and equipment being used. Do not leave slate standing unsecured or place straps across vulnerable edges. Follow the table’s instructions for supporting and securing each piece, separate padded components to prevent rubbing, and check that nothing can shift before the vehicle moves. Stairs, tight doorways, and long carries are good reasons to use a qualified pool-table mover or installer.
Reassembling the Pool Table at the New Location
Lay out the parts and follow the manufacturer’s instructions. The frame must be stable before the slate is placed, and the specified hardware, supports, and attachment points should be used for that model. Align the slate pieces carefully and keep the seams flush rather than forcing a fit.
Aligning and Securing the Slate
Slate seams and fasteners require the method specified for the table. Some installations use shims and seam filler or wax, but the correct material and process vary. Do not improvise if the manual is unavailable.
Leveling the Pool Table for Optimal Gameplay
Leveling is a precision part of reassembly, not just a matter of centering a bubble. The appropriate sequence may involve the frame, slate supports, shims, fasteners, and leg levelers, depending on the model. Follow the manufacturer’s leveling procedure or use a qualified billiards installer when the exact procedure or tools are not available.
Final Touches
Reinstall rails and pockets using the model-specific instructions, then check that the cloth is properly attached and that the playing surface is stable and level. Give your mover or installer the manufacturer, model, size, slate configuration, cloth condition, route details, and photos before the move. That information supports safer planning than a one-size-fits-all procedure.